- Serves: 12 People
- Prepare Time: 10
- Cooking Time: 2
- Calories: -
- Difficulty:
Easy
Print
Two-Bowl extra crispy Buttermilk Waffles
Ingredients
Directions
- Two-Bowl Method: Mix the dry ingredients in one bowl and the liquid ingredients in another, then stir the wet into the dry. Why? This way, the liquid ingredients get thoroughly mixed before going into the dry, giving you a more uniform consistency throughout.
- For extra-crispy waffles, replace half of the buttermilk with whole milk and reduce the baking soda to 1/2 teaspoon.
- Let your waffle iron fully heat before using or your waffles might not cook evenly.
- Warm the oven to 250F. Set a wire metal cooling rack on top of a baking sheet and place in the oven. (You can also toast waffles directly on the oven rack, if you prefer.)
- Whisk together the flour, sugar, baking powder, baking soda, and salt.
- Whisk together the buttermilk and butter. Whisk in the eggs.
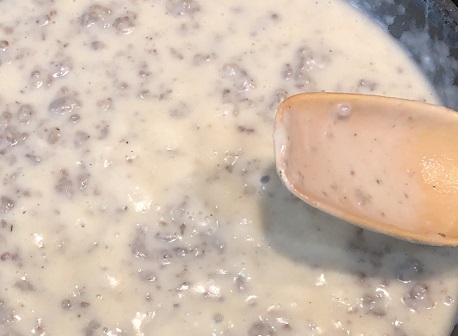
- Stir the buttermilk mixture into the flour. Continue gently stirring just until you see no more streaks of dry flour.
- Rest the batter while your waffle iron warms: Cover the batter with a clean kitchen towel and let it rest for at least five minutes while you warm the waffle iron. The waffle iron is ready when a drop of water sizzles on contact with the griddle.
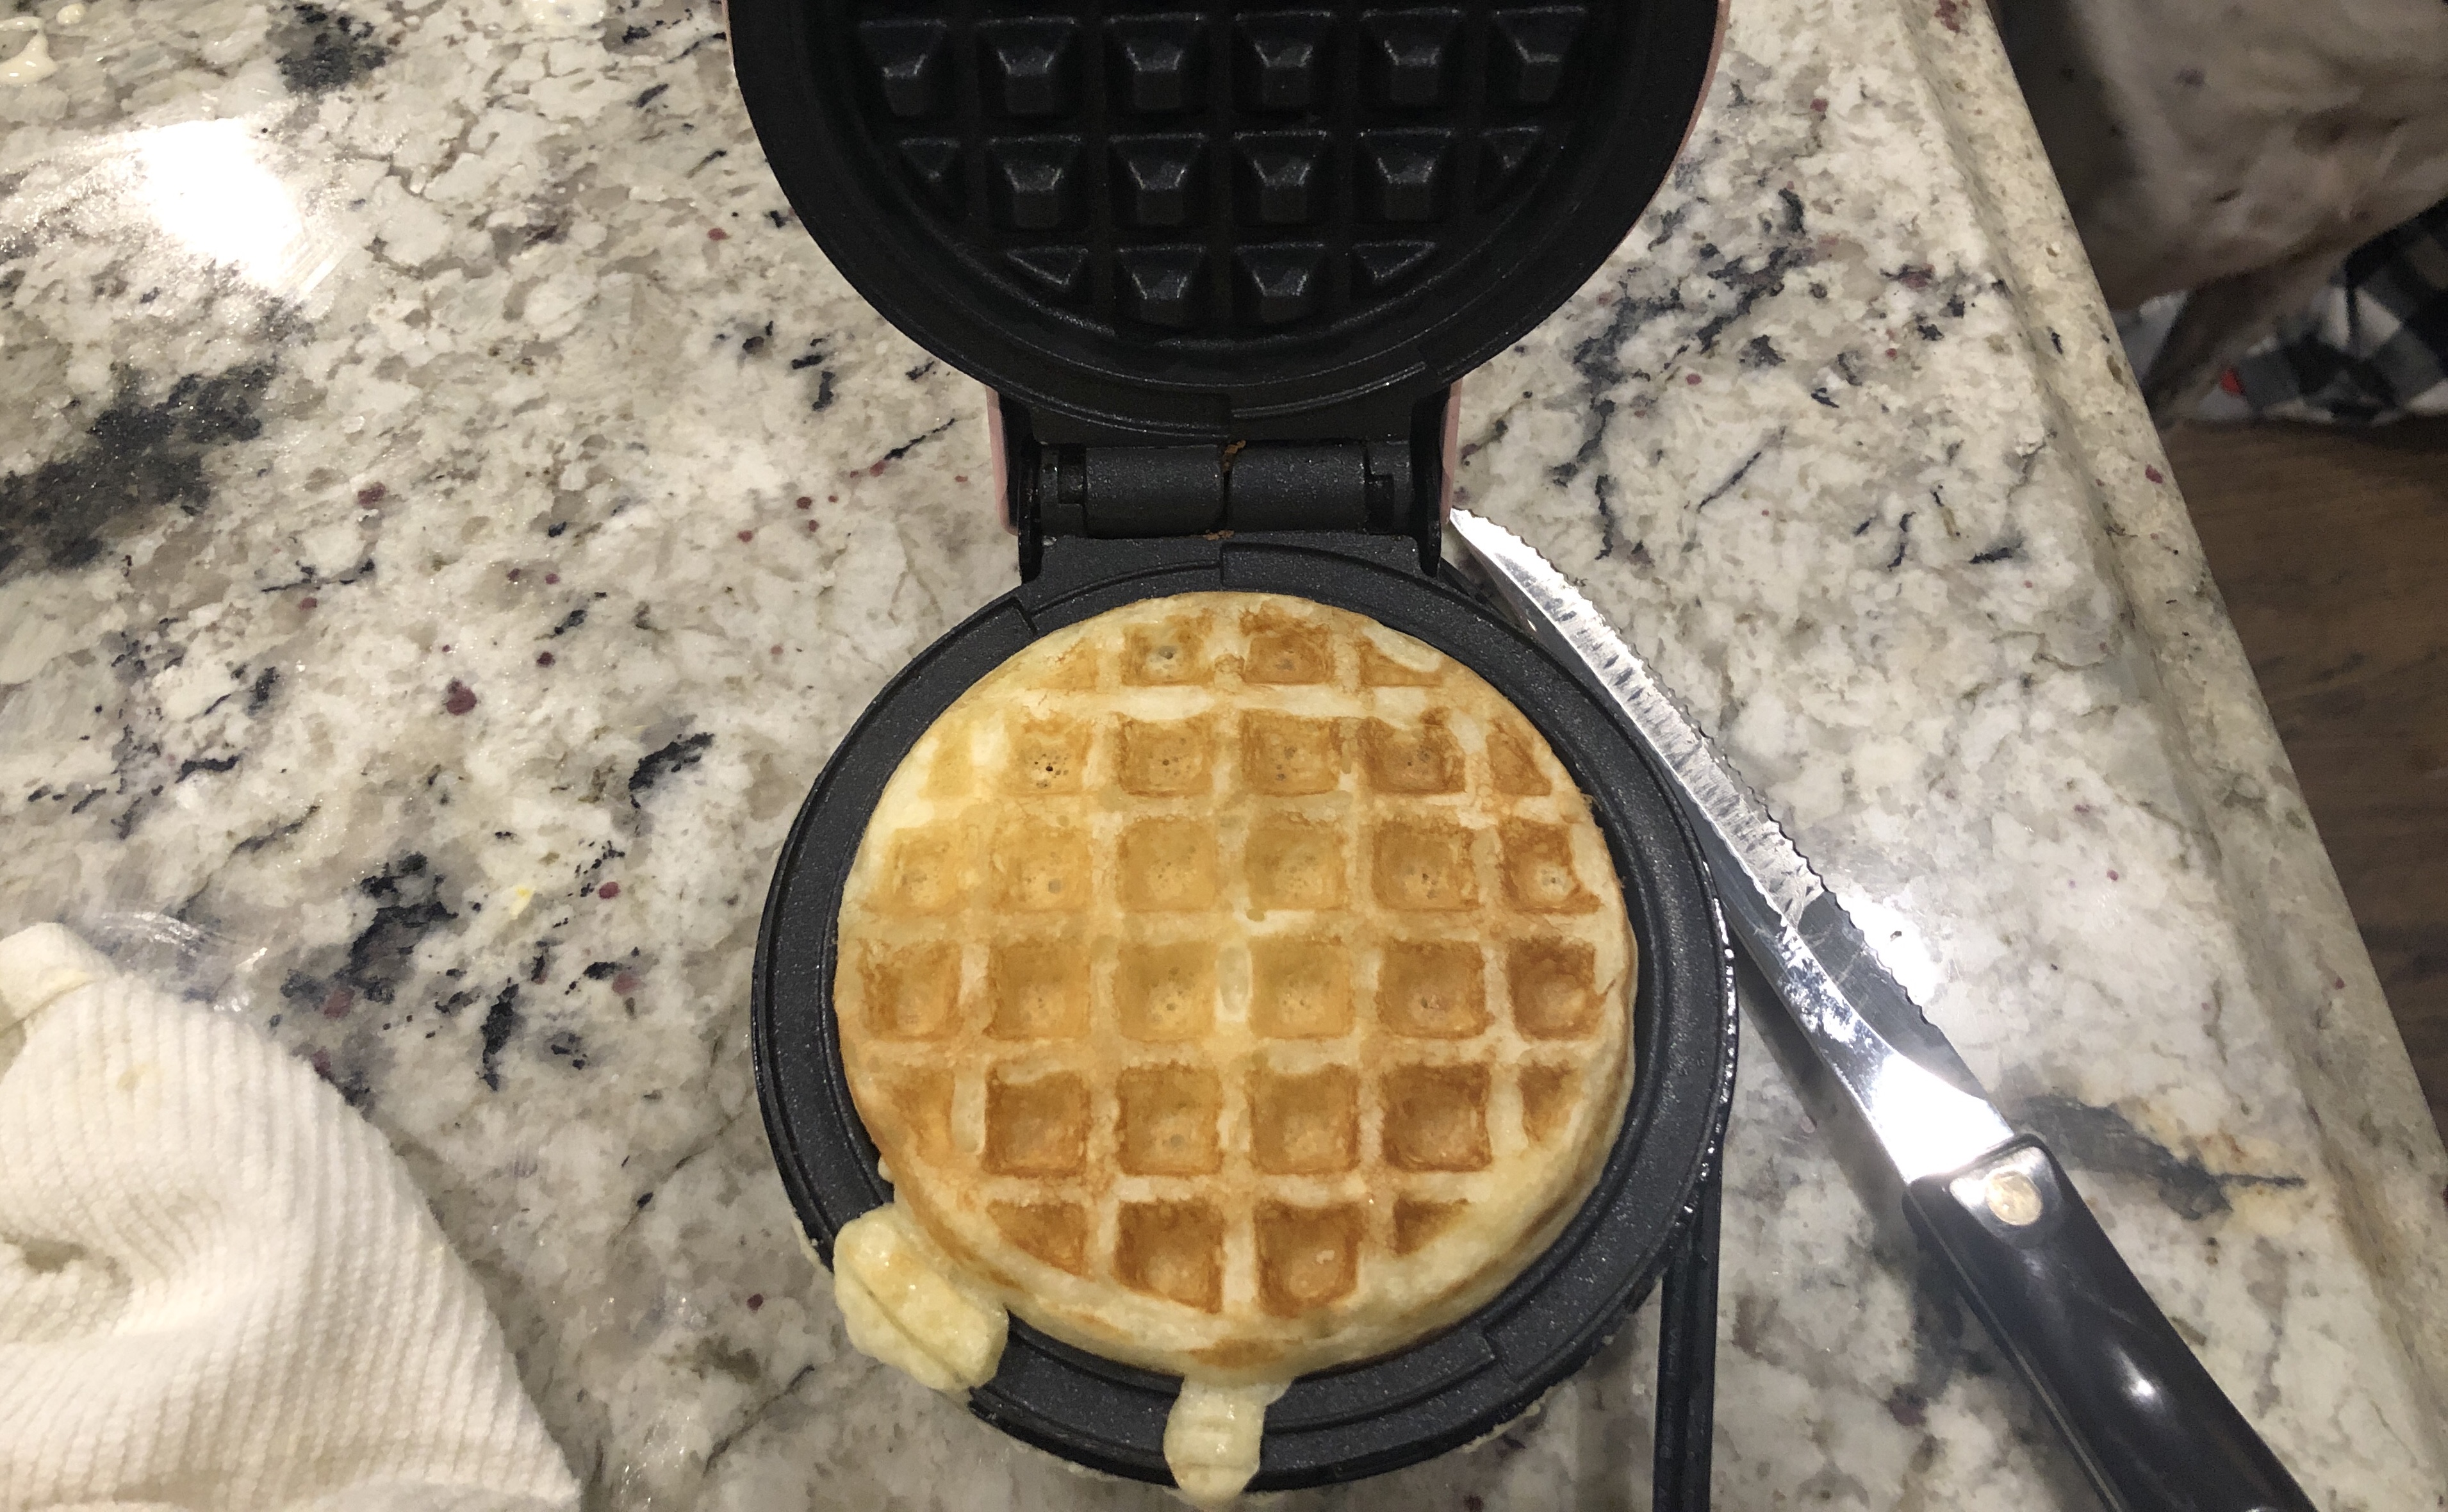
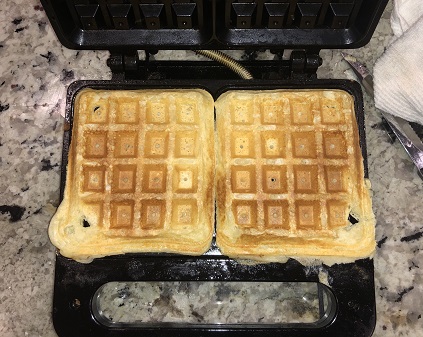
- Make the waffles: Brush the waffle iron with melted butter, if you like. This helps give your waffles a golden color and prevents sticking, but isn't crucial for the recipe. Scoop 1/3 to 1/2 cup of batter into each grid of the waffle iron and cook until golden, according to your waffle iron's instructions.
- Transfer the cooked waffles to the oven: When the waffles are done, transfer them to the cooling rack on the baking sheet in the oven. Place them in one single layer so that they crisp evenly on top and bottom, and so steam isn't trapped between layers. Let them toast for 5 to 10 minutes.
- Cook the remaining waffles: Transfer each batch of waffles to the oven as they are ready. Waffles that have been toasting for a few minutes can now be stacked to make room for the following batches.
- Serve the waffles: Serve the waffles as soon as all batches are made and crisped. Let leftover waffles cool completely, then store in an airtight container in the refrigerator for up to a week, or freeze for up to 3 months. Reheat briefly in the toaster until warmed and crisped.
Classic Buttermilk Waffles Recipe
- Serves: 12 People
- Prepare Time: 10
- Cooking Time: 2
- Calories: -
- Difficulty:
Easy
Two-Bowl extra crispy Buttermilk Waffles
Ingredients
Directions
- Two-Bowl Method: Mix the dry ingredients in one bowl and the liquid ingredients in another, then stir the wet into the dry. Why? This way, the liquid ingredients get thoroughly mixed before going into the dry, giving you a more uniform consistency throughout.
- For extra-crispy waffles, replace half of the buttermilk with whole milk and reduce the baking soda to 1/2 teaspoon.
- Let your waffle iron fully heat before using or your waffles might not cook evenly.
- Warm the oven to 250F. Set a wire metal cooling rack on top of a baking sheet and place in the oven. (You can also toast waffles directly on the oven rack, if you prefer.)
- Whisk together the flour, sugar, baking powder, baking soda, and salt.
- Whisk together the buttermilk and butter. Whisk in the eggs.
- Stir the buttermilk mixture into the flour. Continue gently stirring just until you see no more streaks of dry flour.
- Rest the batter while your waffle iron warms: Cover the batter with a clean kitchen towel and let it rest for at least five minutes while you warm the waffle iron. The waffle iron is ready when a drop of water sizzles on contact with the griddle.
- Make the waffles: Brush the waffle iron with melted butter, if you like. This helps give your waffles a golden color and prevents sticking, but isn't crucial for the recipe. Scoop 1/3 to 1/2 cup of batter into each grid of the waffle iron and cook until golden, according to your waffle iron's instructions.
- Transfer the cooked waffles to the oven: When the waffles are done, transfer them to the cooling rack on the baking sheet in the oven. Place them in one single layer so that they crisp evenly on top and bottom, and so steam isn't trapped between layers. Let them toast for 5 to 10 minutes.
- Cook the remaining waffles: Transfer each batch of waffles to the oven as they are ready. Waffles that have been toasting for a few minutes can now be stacked to make room for the following batches.
- Serve the waffles: Serve the waffles as soon as all batches are made and crisped. Let leftover waffles cool completely, then store in an airtight container in the refrigerator for up to a week, or freeze for up to 3 months. Reheat briefly in the toaster until warmed and crisped.
You may also like